From Garden Rooms to Microhabitats: Designing Small Spaces for Wildlife
Problem
Many of us live with only a sliver of outdoor space: a balcony, a tiny courtyard, or a modest suburban backyard. That limitation makes it tempting to resign the area to tidy paving, a couple of pots, or a decorative shrub that never changes. At the same time, shrinking habitats and seasonal gaps in nectar and shelter mean local wildlife — pollinators, small birds, and beneficial insects — struggle to find continuous resources.
It can feel like a conflict between aesthetic neatness and ecological usefulness. The good news is that history offers a set of design ideas built for smallness. By adapting them, you can turn limited areas into meaningful microhabitats that are both beautiful and functional.
Principles (informed by history)
Two historical threads are especially helpful: the Victorian garden room and the cottage-garden layering approach. Both were responses to limited or compartmentalized plots and emphasize composition, sequence, and variety — qualities that translate directly into wildlife-friendly design.
1. Rooms and edges
Victorian garden rooms divided space into separate areas defined by hedges, walls, or changes in surface. Each room became a focused scene. For a microhabitat, think of dividing a small space into function-specific zones: a sunny nectar corner, a shady shelter nook, a damp basin for drinking and bathing. Defining edges — even with low planters or a change in paving — increases habitat diversity.
2. Vertical layering
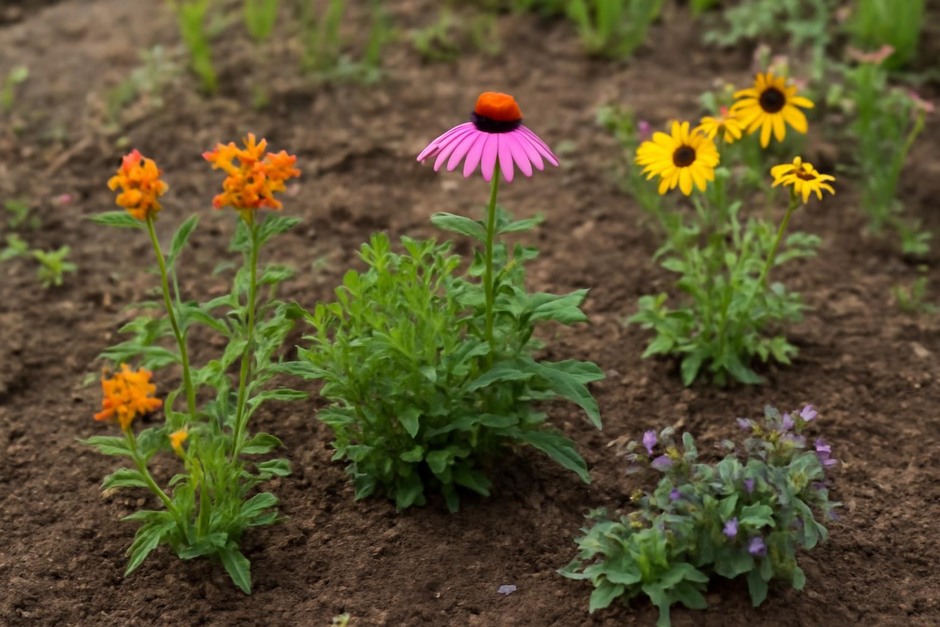
Cottage gardens layered tall shrubs, perennials, and groundcovers to maximize richness in a small footprint. Layering creates more niches: branches for nesting, herbaceous flowers for pollinators, and litter for beetles and soil life. Aim for at least three vertical layers where possible: canopy or shrub, mid-height perennials, and groundcover.
3. Continuity through seasons
Historical gardens were designed to give interest across months. For wildlife, that means planning for early nectar, summer bounty, and late seeds or berries. Even one small area can provide seasonal continuity with careful plant choices and a few structural features like a berry-bearing shrub or a patch of grasses that hold seeds through winter.
4. Structural microfeatures
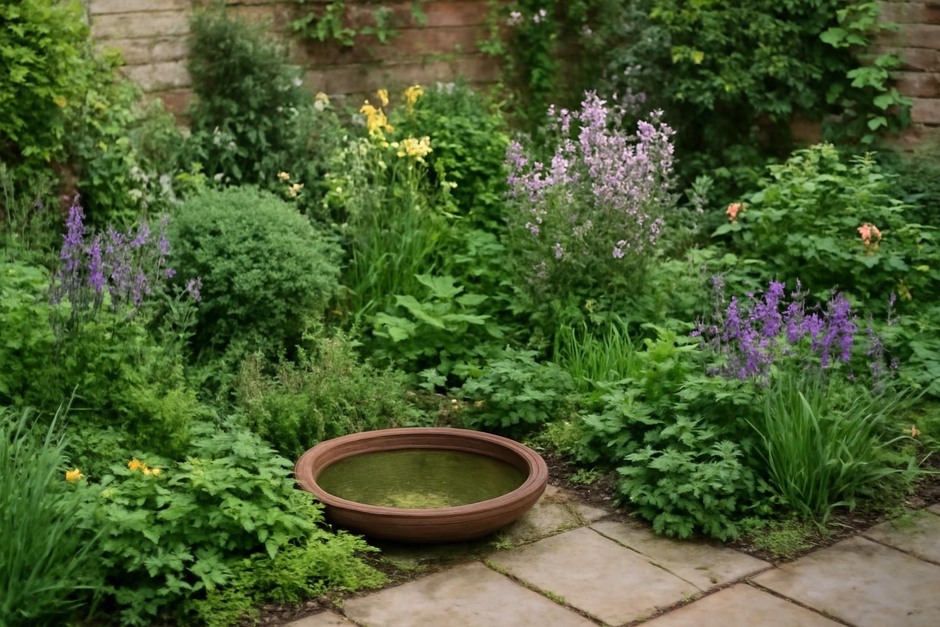
Old garden styles often included ornament that doubled as habitat: walls, stone piles, and ponds. Modern microhabitats benefit from the same idea. A shallow basin, a log pile, a few stones, and a nest box or insect hotel add functional microhabitats without taking much room.
Examples
Below are three compact schemes inspired by those principles. Each fits into a small courtyard, balcony, or patch of border.
Sunny Pollinator Corner (balcony or paved patio)
- Define the space with a low wooden planter or row of pots to create a « room. »
- Use three layers: a dwarf shrub or tall perennial at the back, mixed pollinator perennials in the middle, and low creeping thyme or sedum in front.
- Add a shallow dish with stones for a bee-drinking spot and a small pile of sticks tucked behind pots as shelter for solitary bees.
Shaded Fern and Insect Nook (north-facing corner)
- Use a shady wall or fence as the room boundary and plant a small native shrub or evergreen for structure.
- Underplant with shade-loving perennials and ferns, plus a patch of mulch for ground beetles and worms.
- Leave a log or section of branch to encourage fungi and provide habitat for invertebrates.
Mini-Wetland Basin (small lawn edge or paved spot)
- Sink a shallow basin or heavy pot into the ground and edge it with stones to create a birdbath and amphibian-friendly micro-pond.
- Plant moisture-tolerant grasses or sedges around the rim and place a low-growing shrub nearby for perches and shelter.
- Keep a gentle shelf so insects can access water safely; add a few native emergent plants if space allows.
Concise Practice Checklist
- Choose a small « room »: identify a dedicated spot and define its edge with pots, low planter, or surface change.
- Plan for three vertical layers: shrub/canopy, mid-height flowers, and groundcover or mulch.
- Include at least one structural microfeature: shallow water, log/stick pile, stone pile, or nest box.
- Plant for seasonal continuity: early nectar, summer flowers, and late seeds/berries.
- Prioritize local/native species where possible and avoid removed tidy practices like clearing all leaf litter in autumn.
- Observe and adjust: spend a few minutes weekly noting what visits and tweak plants or features accordingly.
Small spaces are not limitations so much as opportunities for focused, layered creativity. By borrowing the garden-room idea and layering principles from historical garden practice, you can create microhabitats that support wildlife and reward you with movement, color, and sound throughout the year.